I have a secret.
Ready?
I'm not very good at laundry.
I'm pretty good at remembering to do it on a (sort of) weekly basis, but double-plus-un-good at remembering to do things like check for money/train passes/lipstick in the pockets or ensure that there are no random red socks mixed in with the white towels. I also suck at remembering that I have a wool setting on the machine. This is why I have pink towels and a pile of sweaters that used to fit me, but are now more suited to my 18 month old niece.
 |
| Weep |
For this project, you will need:
1 sweater (this can be acrylic or wool)
Fabric to create the reverse side of the cushion
Fabric to back the sweater
Heavy duty needle for your machine - denim or leather rated
A cushion
Pins
Scissors
Iron
When finished, you will have two matching covers.
Step One: Work out how big your cover needs to be and make sure that your jumper is big enough.
I bought my cushion at Wilkinson - they're cheap there and a pretty standard size. To make sure that the jumper was going to be big enough, I shoved the cushion inside it.
 |
| Wide enough? Check. |
 |
| Long enough? Check. |
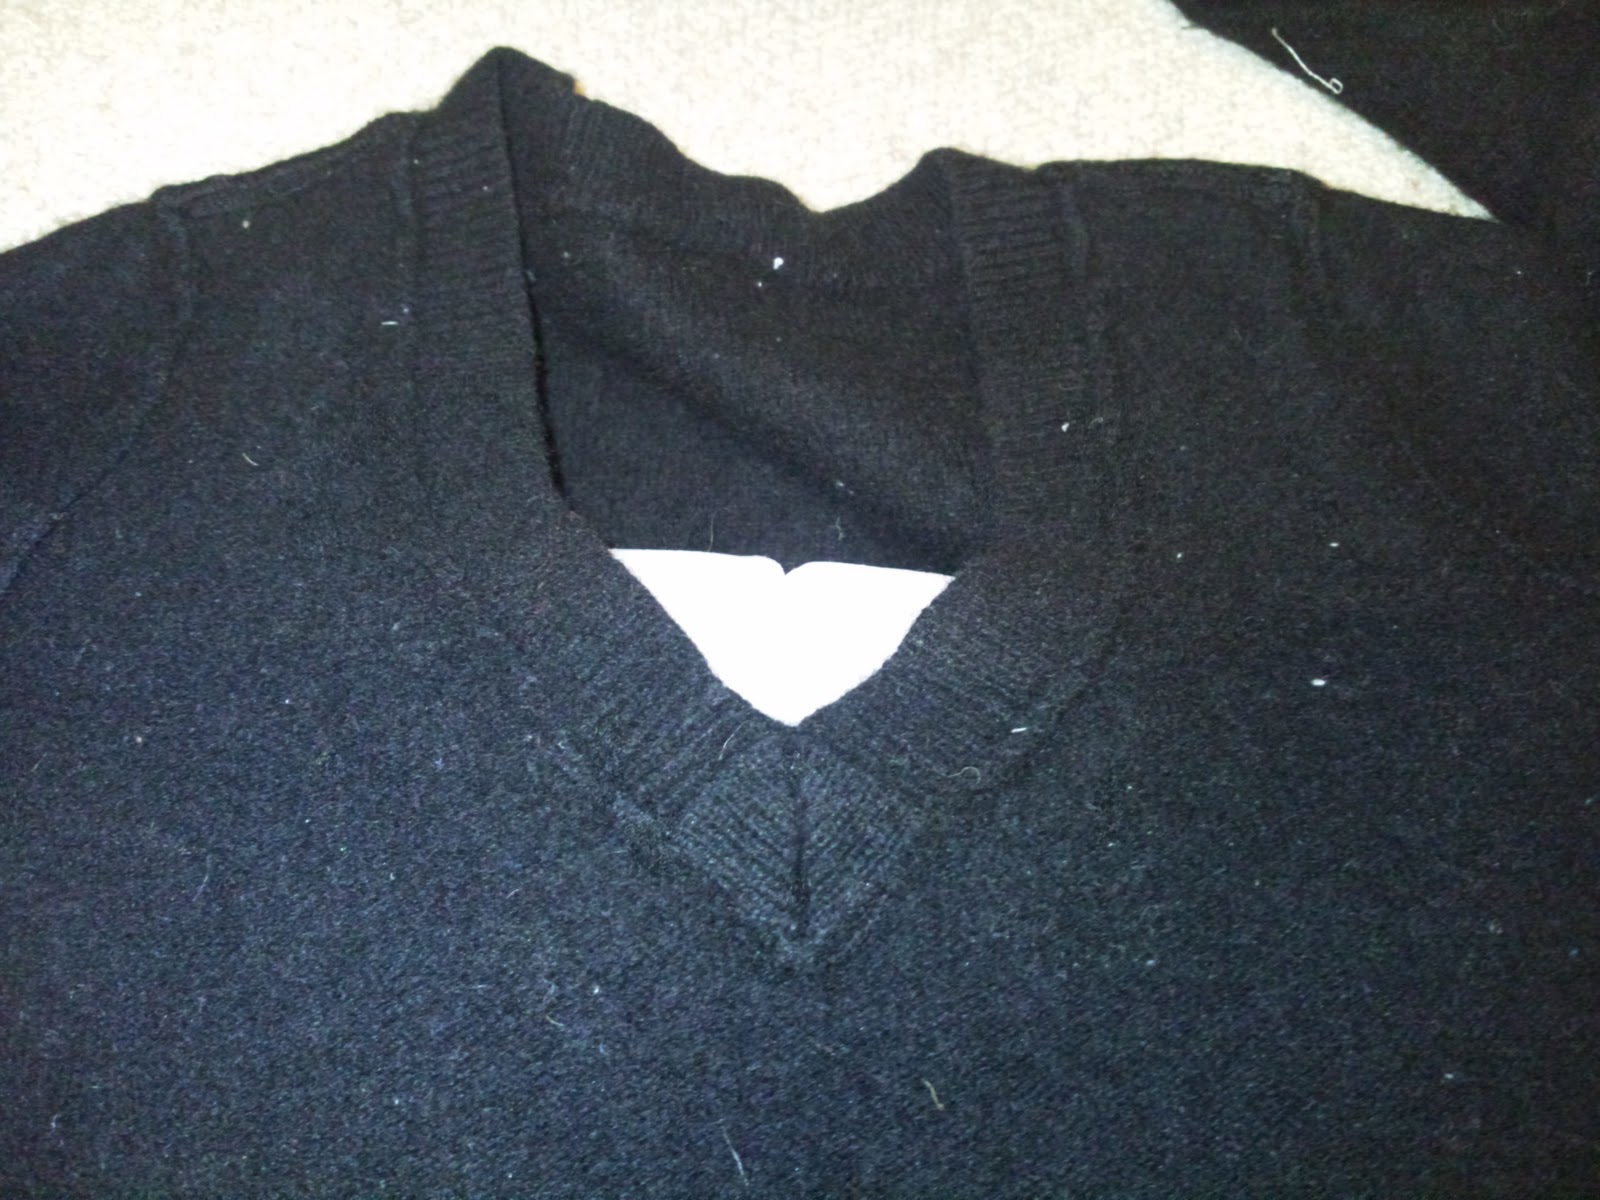 |
| It is okay if the sweater has a V-neck and some of the cushion isn't covered. |
Step Two: Cutting the sweater
Cut the arms and shoulders off roughly in line with the cushion. (You can cut through both sides of the sweater at the same time.) Cut below any edging at the neck - even if your cushion pokes above the V-neck like mine does. You don't have to measure to get this perfect. Remember - knits stretch. So long as it is really close, you'll be fine.

 |
| You can use the arms and shoulders of the jumper to make a draught excluder if you want. I'll do this as another project at some point. |
You should now have a knitted tube. Cut along the side seams to give yourself two squares. Set these aside for the minute.
 |
| It is best to cut so that you wind up with one seam on each piece. |
Step Three: Backing the wool.*
Right, as mentioned above, knits are stretchy. Over time they lose their shape. To keep your covers looking nice for as long as possible, you need to create a lining to go between the square of knit and the cushion. You can use almost anything as long as it is washable and doesn't stretch. I've got some leftover fabric from when I re-covered a sofa for a friend, so I'm going to use that.

Measure your cushion. Mine is 18 inches x 18 inches. Cut out two squares this size from your backing fabric.* (You'll need one for each cushion.)
Set these aside with the squares from the sweater.
Step Four: Cutting the outer fabric.
Only one side of the cushion is going to be woolly. The other side can be anything you want, as long as the fabric doesn't have any stretch. I'm using some upholstery samples that I've had forever.
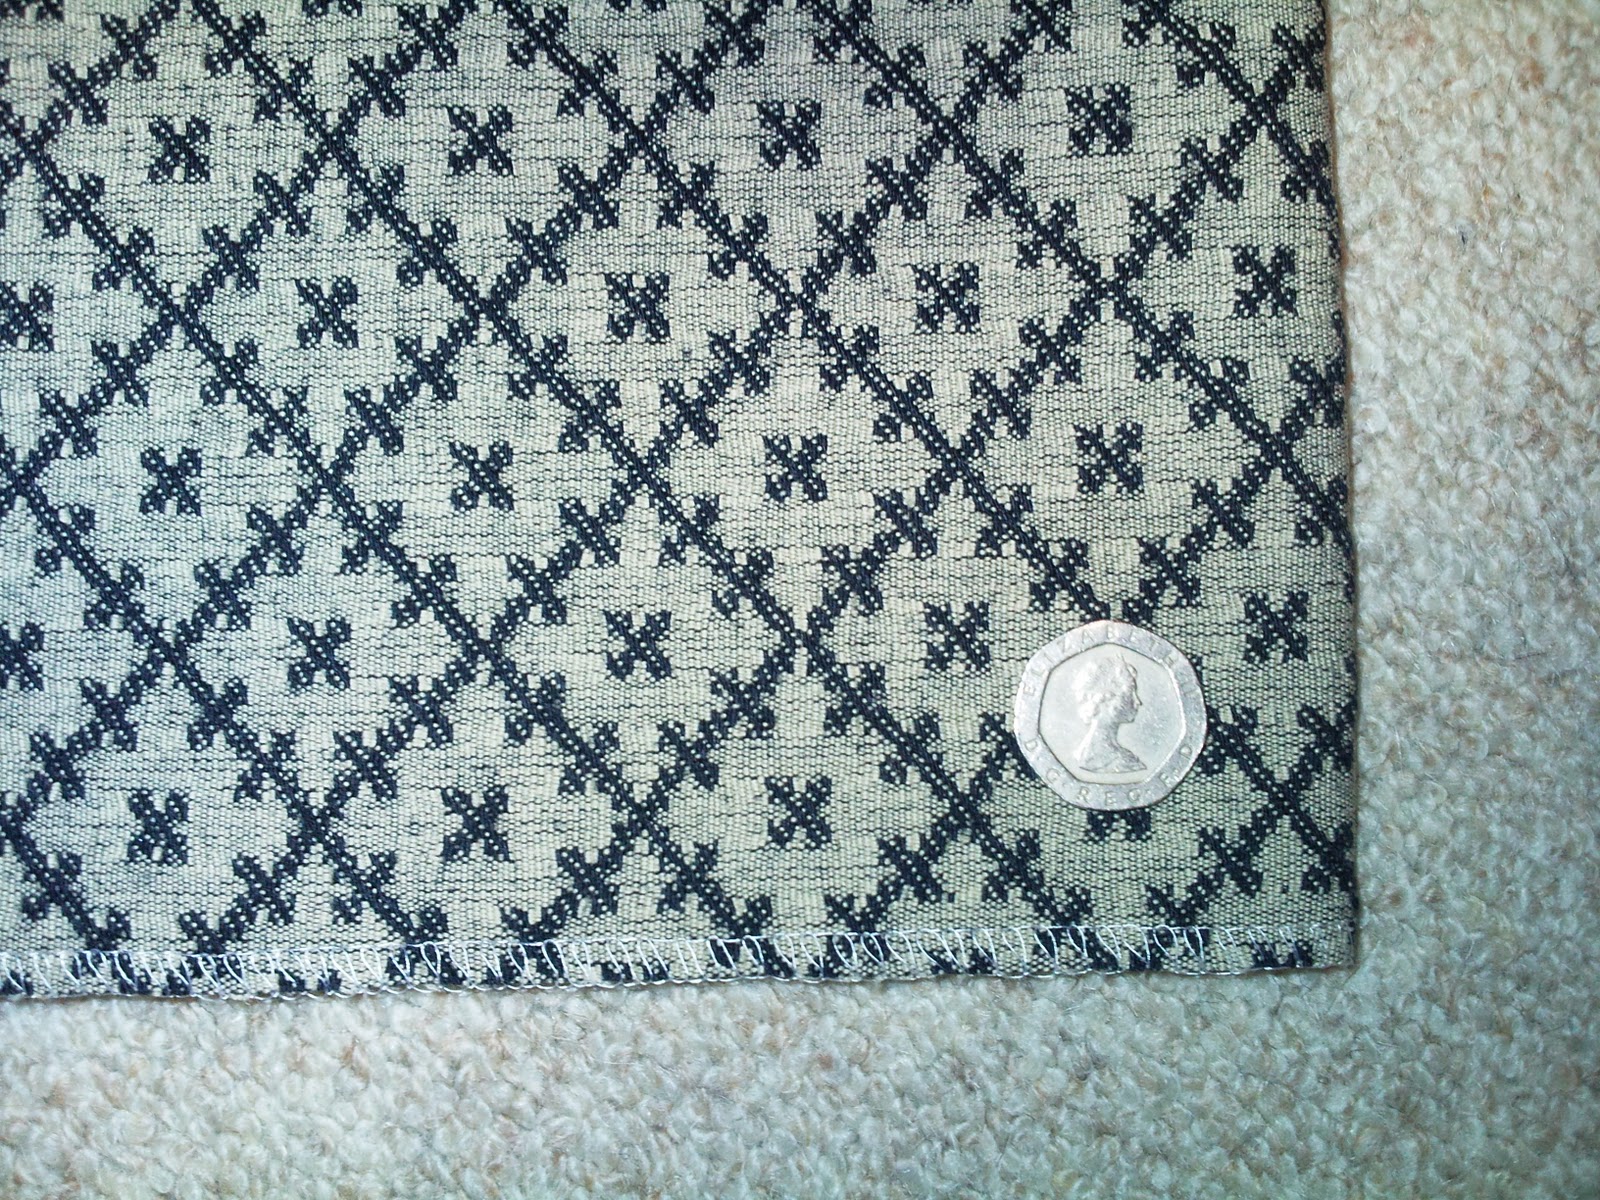 |
| Just to show the pattern size |
Cut two pieces of your outer fabric the same size as your cushion (18 x 18 in my case). Cut two more pieces as wide, but only about one third to one half as long. (I've cut mine 18 inches x 7 inches). One full size and one half size piece will make up the back of each cushion.
 |
| Showing the wrong sides |
Fold over a small section - about 1-1.5 inches, wrong sides together on the 18 inch sides of each piece. Press. Sew.

Set these aside.
Step Five: Putting it all together.
**The first few instructions are for the backing fabric. If you skipped step three, scroll down past the pictures with the blue acanthus backgrounds.**
Lay out your backing fabric square with one of the knit squares on top of it.
Make sure that the square from the sweater is really square (a slight curve in the bottom edge is normal - just make sure that the top and sides are square) and pin it into the middle of the backing fabric.

Starting at the corners, Stretch the sweater material out to cover the larger piece of backing fabric. Pin it in place.


It helps of you pin the four corners first, then stretch the sweater to fit the backing fabric, pin in the middle of each side, stretch it again pinning smaller and smaller sections down.


Your end result will look a bit odd and lumpy, but if you stretch the backing fabric out flat, it should look fine.
Sew the sweater onto the backing fabric. You don't want the stitches for this to show on the finished cover, so cut your normal seam allowance in half. In the picture below, I would normally have the edge of the fabric running along the line furthest from the needle. If you are worried about sewing in a perfectly straight line, load your sewing machine up with matching thread and shorten your stitch length. If your seams do end up really close together in places and peek through, it won't matter.

Once the sweater is sewn to the backing fabric, take all of the pins out. With the right sides together, lay the big piece of outer fabric over the sweater square.* Lay the shorter piece over top of this so that the finished edges are overlapping.
Pin the sides the same way you did when pinning the sweater onto the backing fabric, stretching it out to make sure there are no folds. Be sure that the bigger piece of outer fabric is on the 'inside' of the overlapped pieces.

This is where you will need the heavy duty needle in your machine. There is a lot of fabric to sew through and a standard needle may not be able to take it.
Sew all the way around with a normal seam allowance. Remove the pins.
Step Six: Finishing
Before you turn your cover the right way out, cut the corners off, making sure that you do not cut through any of your stitches.

If you don't do this, the corners of your cover won't look nice when you turn the cover the right way out. The corners will be bunched up and lumpy because there will be too much fabric in them.
Turn the cover the right way out and put the cushion into the cover.
 |
| Back |
 |
| Front |
Done.
Now for the Contest!
I wanted to thank everyone for their interest in my makeover projects. A lot of you have said that you wished that you sewed so that you could do some of them and others have made suggestions for projects that they would like to see. Some really good ideas. So I'm throwing it open - what would you like to see in Makeover Monday? Comments will be open for suggestions from 9 am Monday January 31st until Monday Feb 7th. I'll then pick one of the suggestions for the Feb 14th Makeover Monday.
But wait! There's more!
In addition, Random.org will pick one comment to win a pair of small cushion covers (for 18 X 18 cushions) made from this fabric, left over from my bedding makeover:

You can enter up to five times, but each entry needs to have a different suggestion for a Monday Makeover.
And yes, this is open to international entries.
* You can make the cushion without doing this step, but using a backing fabric makes the whole thing neater and will help to keep the cover from stretching out over time.
*I am not adding seam allowances to any of the measurements for this project. When you make covers for cushions, you need to account for the fact that you will want to cushion to be kind of fat and squashy rather than thin and flat. To get that, you need to make the cover just slightly smaller than the cushion. By cutting everything to the size of the cushion rather than adding seam allowances, my finished cover will be slightly smaller than the cushion and will enhance the squashy-ness.
*Right sides are the sides you want to show when the project is finished. In this case you want to lay the right side of the outer fabric against the sweater with the backing fabric against the floor.
No comments:
Post a Comment